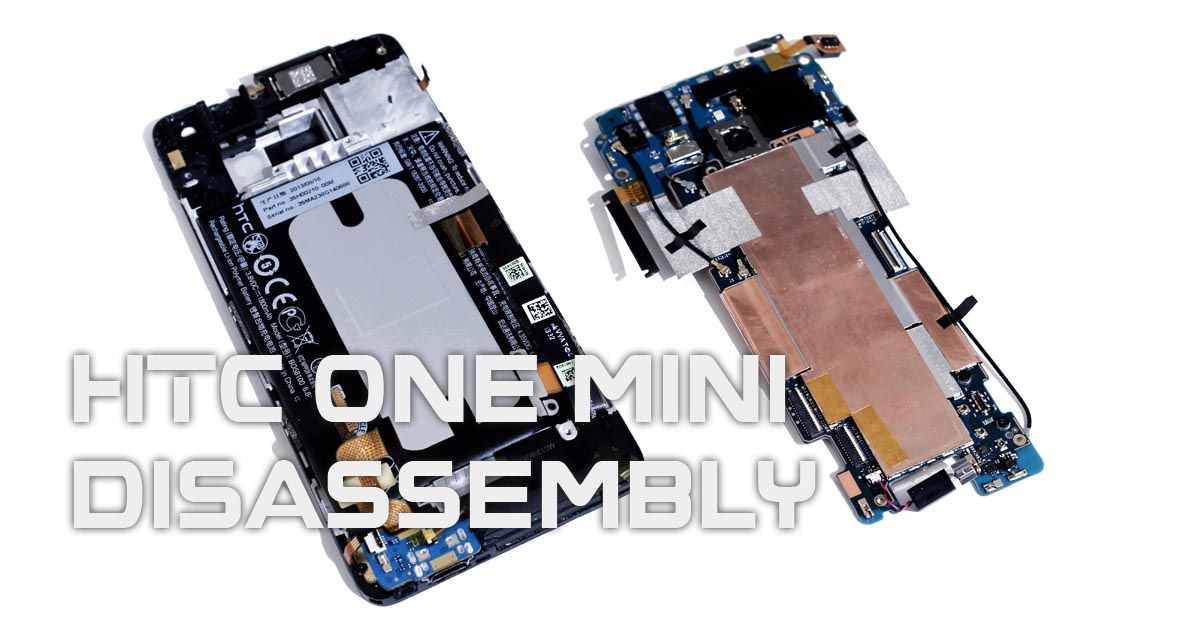
The spare parts for the HTC One mini have just arrived. Finally ...! Here I show how to open the HTC One mini (HTC One mini Teardown, HTC One mini Disassembly). Step by step explained with pictures. Here you can go directly to the HTC One mini repairs.
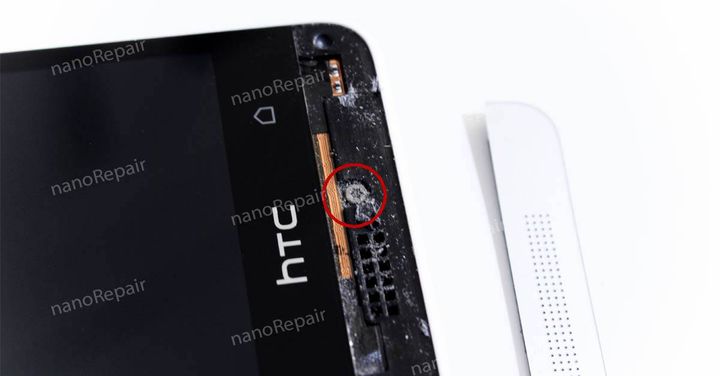
The first thing we need to do is detach the bottom plastic cover from the phone. This is only glued on. Best
briefly warm up so that this can be easily removed. The Torx screw underneath holds the display unit together with the back cover.
display unit together with the back cover. Loosen this screw so that we can separate the display unit from the backcover in the next step.
Display unit from the back cover can separate.
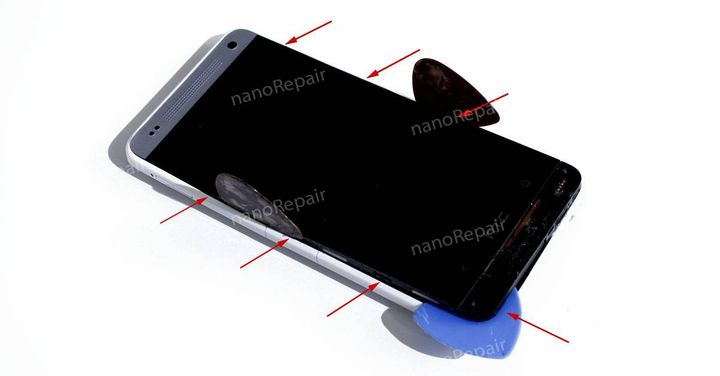
After loosening the Torx screw, the display unit of the HTC One mini is just clipped in place. The red
Arrows mark where the clips are located everywhere. The cracks on the left side of the device were
already present before. Care must be taken not to damage the back cover. But this should
be done without any problems. The display can then be lifted out upwards. There are no cables etc.
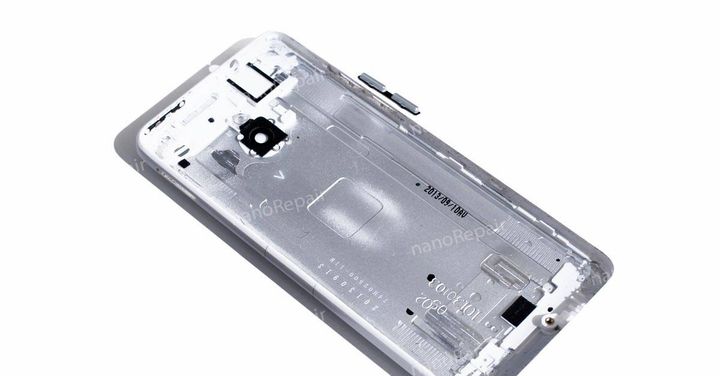
Backcover fastened.
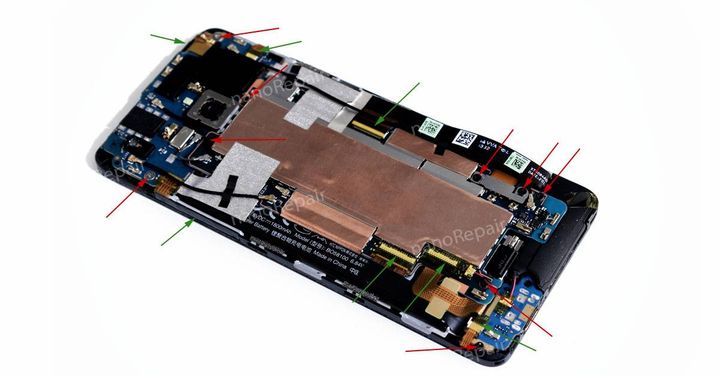
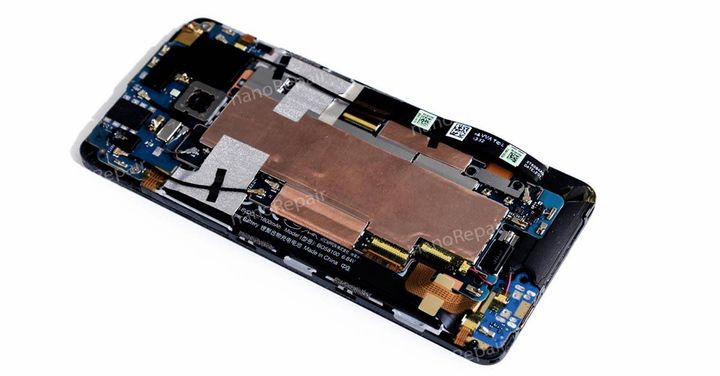
Unscrew all screws marked in red. Then all green marked Steckverbingen / glueing
loosen. Make sure that the volume flex and the power button flex are released before going to the
next step. These two flexes are soldered to the board and can't be easily replaced in case of a
can not be replaced easily. At the end disconnect the battery from the board and take the vibra out of the
Vibra holder.
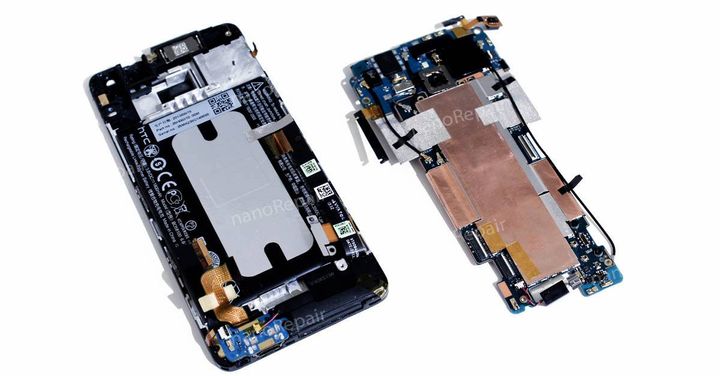
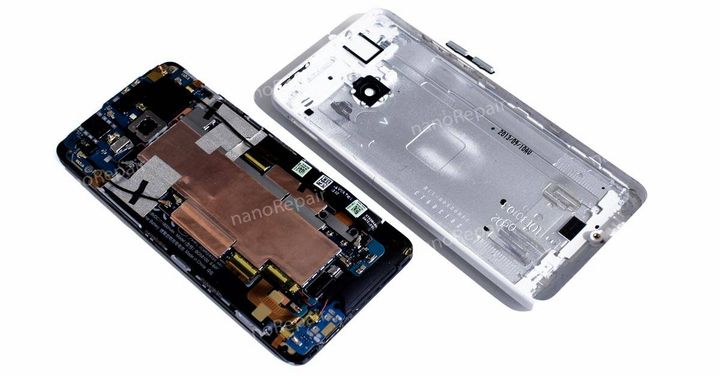
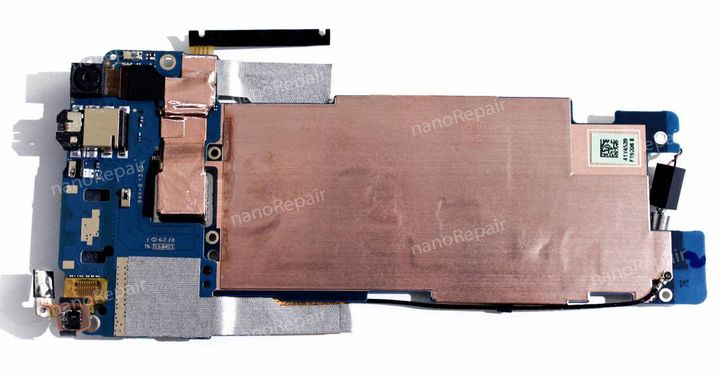
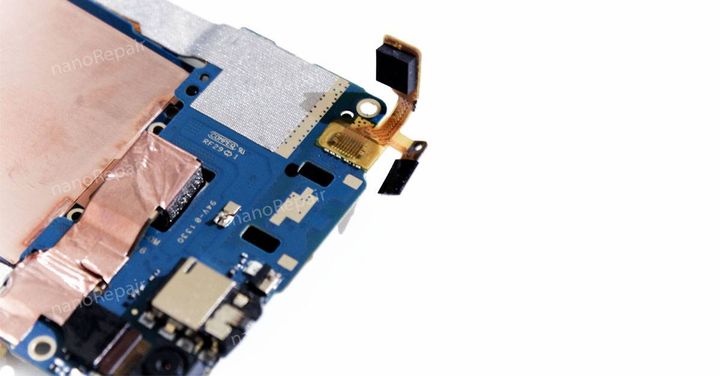
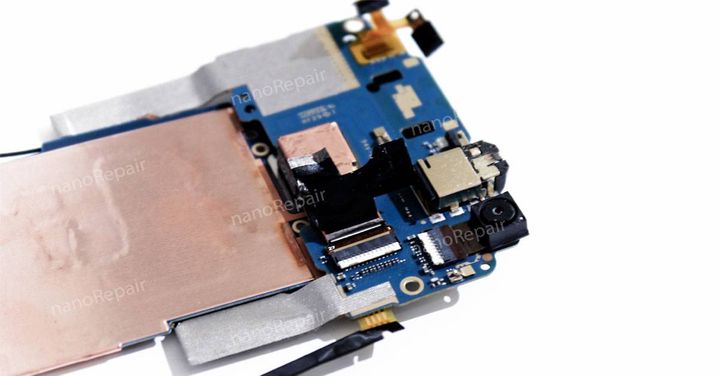
After disconnecting all the connections, we can easily remove the board from the rest of the HTC One mini. We
now have the display unit with battery, SIM reader, both speakers and dock connector and next to it the
complete board of the HTC One mini.
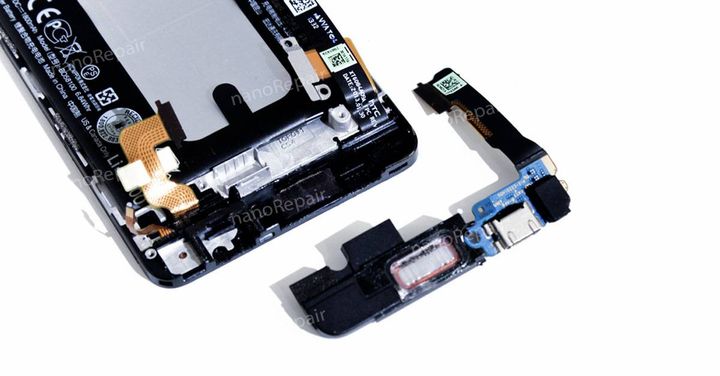
You can easily remove the lower speaker with dock connector. Best to warm up a little again
so that the glue can be better solved. Be careful not to damage the speaker with the tool.
damaged with the tool. The upper speaker can be solved in exactly the same way.
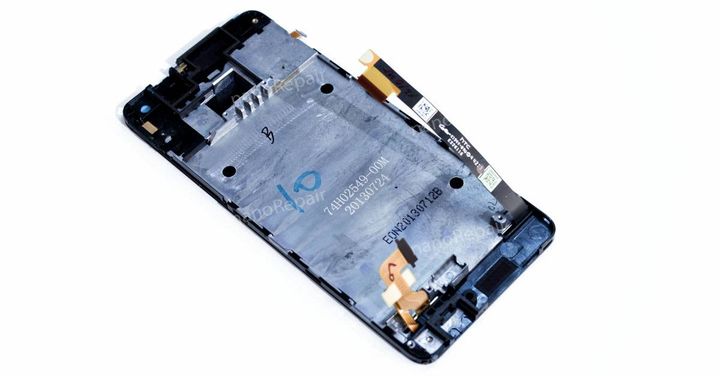
After the battery has been removed, we have the complete display unit in front of us, which can now be replaced.
can be changed. The HTC One mini display unit namely consists of display, touchscreen, bezel and
SIM reader.
Opening the device is done at your own risk. I assume no liability for any damage caused. Nevertheless I think that this small overview can be useful for one or the other.
Of course we offer this HTC One mini repair as usual. Here you can find the HTC One mini repairs like display repair, HTC One mini back cover repair, camera repair, DockConnector repair and much more.
If you have any questions or uncertainties, just write us a message.

Comments